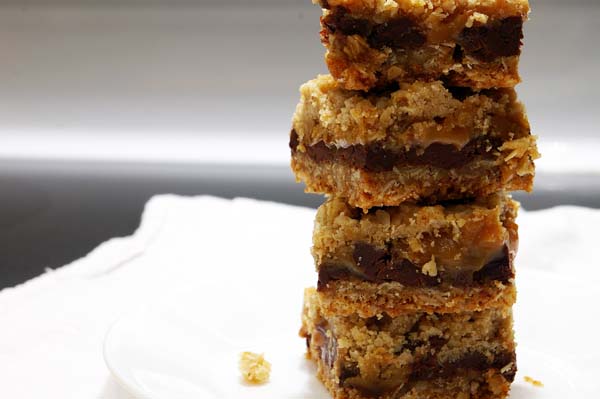
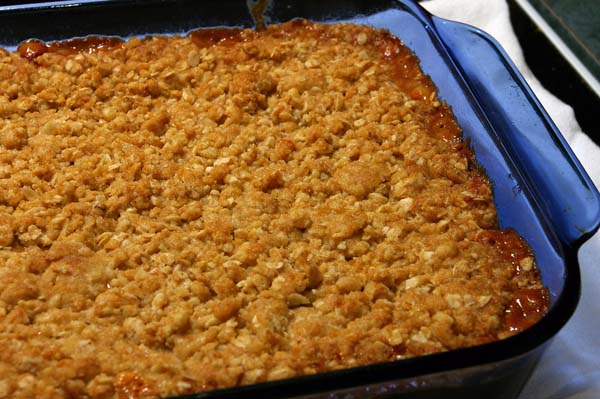
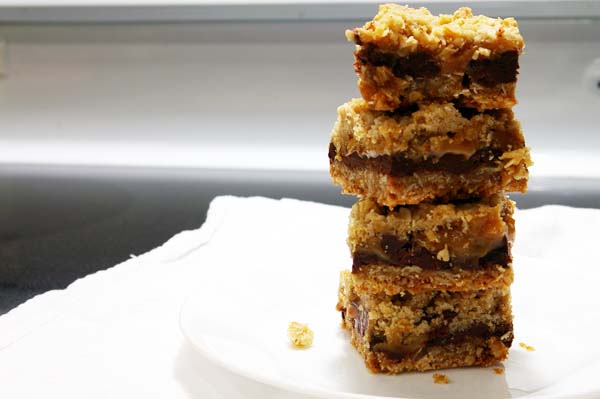
I just have to say that when I saw this recipe, I KNEW I would love it. Why? Because I love caramel. I also love crisps. I call this Chocolate Caramel Crumble, because it reminds me of a fruit crisp/crumble. But instead of your typical fruit center, it’s filled with chocolate and caramel.
Mind = blown.
As one of my co-workers who was given a sample said, “Those things were like taking a Mars bar and putting it in a crumble… mmmm.” I’d say that’s a pretty accurate description.
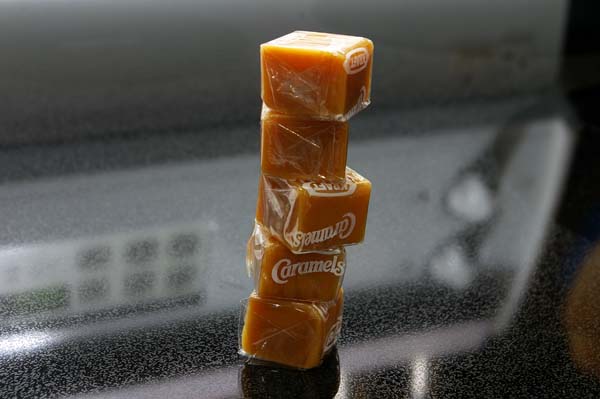
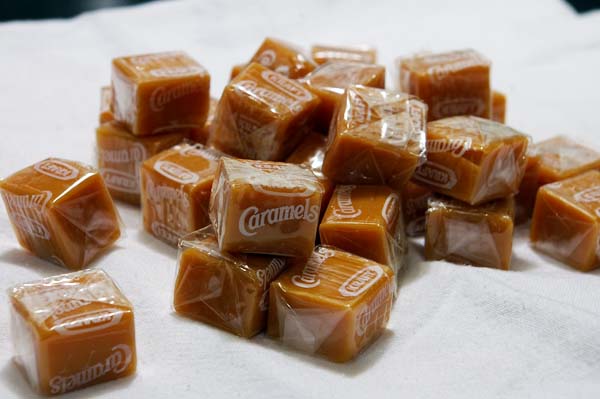
Do you know how long it takes to unwrap 32 caramels? 3 minutes 25 seconds. Okay, I didn’t actually time it, but I wouldn’t be surprised if my guess is close. It takes a long time. So if you have a kid or a husband, maybe bribe them into doing all the unwrapping in exchange for letting them eat every 10th caramel or something.
In my version of the recipe below, I’ve reduced the amount of chocolate chips that the original recipe called for because I found the chocolate to slightly overpower the caramel. It’s all personal preference though, and I’m more of a caramel kind of girl, so if you’re more of a chocolate person, feel free to up it.
Recipe lightly adapted from Lulu the Baker.
Chocolate Caramel Crumble
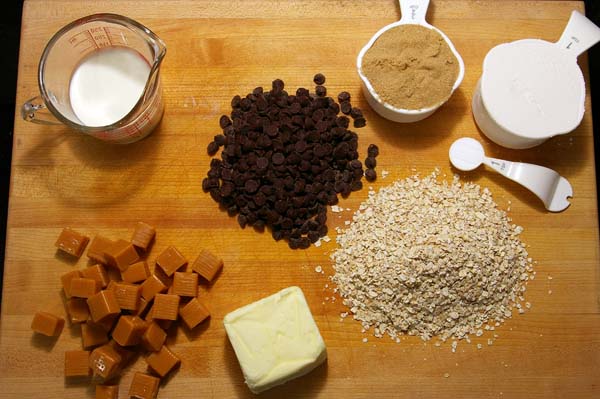
Ingredients
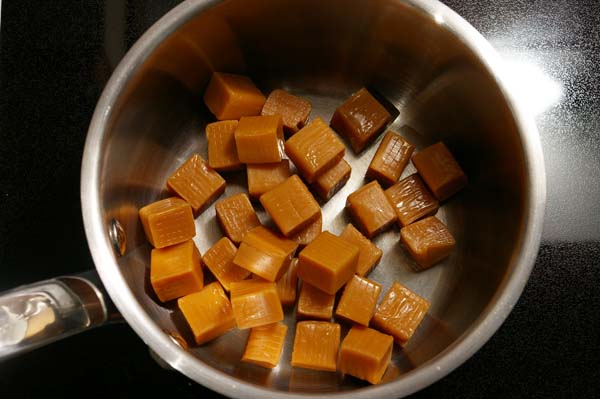
- 32 caramel squares unwrapped
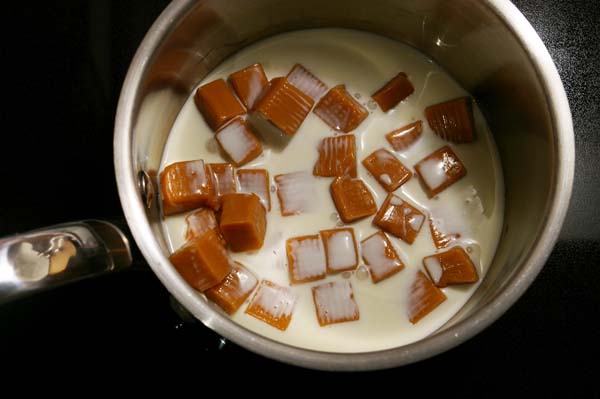
- 1/2 cup heavy cream
- 3/4 cup butter melted
- 3/4 cup brown sugar packed
- 1 cup flour
- 1 cup rolled oats
- 1 tsp baking soda
- 2/3 cup semisweet chocolate chips
Instructions
- Preheat oven to 350°F. Lightly grease an 8-inch square pan.
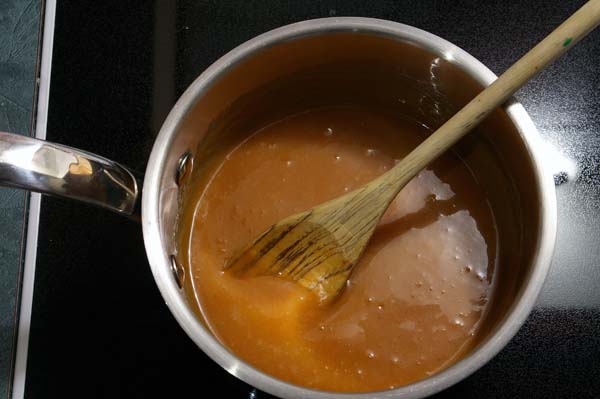
- Combine caramels and cream in a small saucepan over low heat. Stir until completely smooth; set aside.
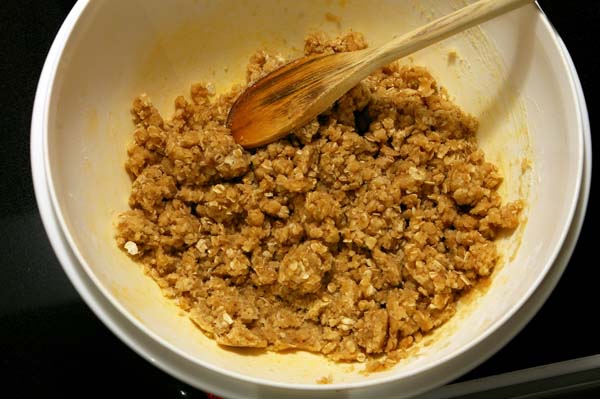
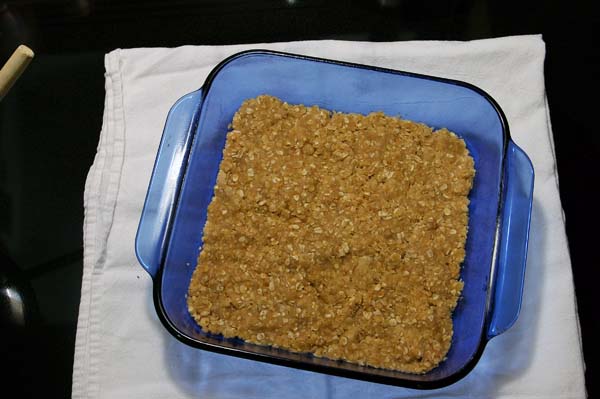
- In a separate bowl, combine butter, brown sugar, flour, oats, and baking soda. Pat half of the oatmeal mixture into the bottom of your prepared pan.
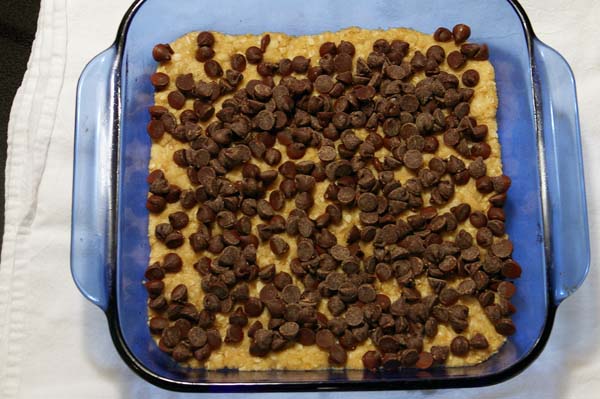
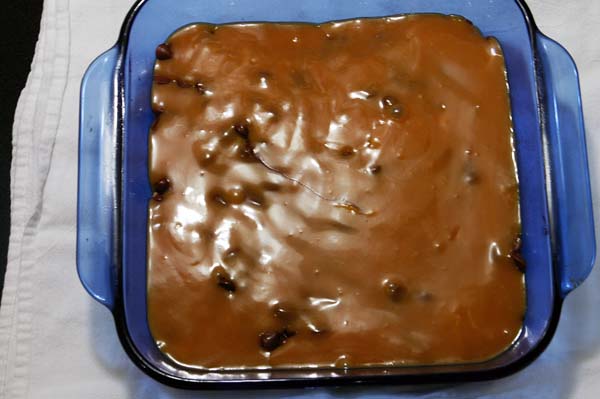
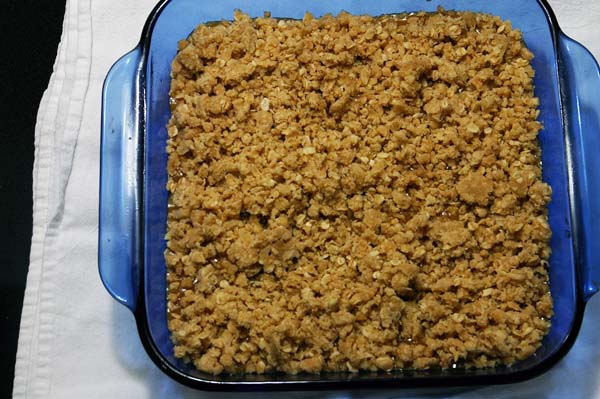
- Bake in preheated oven for 10 minutes. Remove pan from oven and sprinkle chocolate chips over crust. Pour caramel mixture over chocolate chips. Crumble remaining oatmeal mixture over caramel. Return to oven and bake an additional 15-20 minutes, until the edges are lightly browned. Remove from oven and cool completely before cutting.





8 Comments
Wendy
March 1, 2012 at 3:58 pmGreat pics! Your photography is coming very nicely :)
The Gourmet Housewife
March 2, 2012 at 9:36 amThanks Wendy! I’m working on it!!
kyla
March 4, 2012 at 5:23 pmIt tasted great, but i had to add 15 min baking time and it was still a mushy mess. I’m not sure what i did wrong.
The Gourmet Housewife
March 5, 2012 at 8:33 amHi Kyla,
Sorry to hear they didn’t work out! Did you let them cool completely before cutting into them? Mine took a couple hours to set, and that’s with having put them in the fridge to help speed it along because I was so anxious to try them. I imagine if left at room temperature, they would take at least 3 hours to completely set.
kyla
March 5, 2012 at 9:59 amHm, that may have been part of the problem. Also, does it matter what type of pan you use? I used a glass pan.
kyla
March 5, 2012 at 10:01 amNevermind, I see you did too.
The Gourmet Housewife
March 6, 2012 at 4:32 pmHi Kyla,
Yes, I used a glass pan. My guess is that it might have just needed a bit more time to cool. If you try it again, let me know how it works.
Happy cooking!
Pat
March 24, 2012 at 5:59 pmThese are delicious. The second time I made them, I cooled them in the fridge for 2 hours, cut them in the pan and finished cooling them for a couple more hours. This turned out great as they’re very hard to cut warm or real cold.